When I was in sixth grade, one of my best friends happened to be half Korean. We did a lot of things together, like going to the mall, hanging out with friends, but what really sticks in mind is how I’d love to go to her house after school because I knew we’d go straight to this snack that, at that time, was very unique to me: Kimchi and white rice. I seriously would crave this when I wasn’t at Debbie’s house, but in the small New England town I was raised in, it wasn’t something you can pick up at the local grocery store. I remember finding a can of kimchi in Star Market (a popular east coast store), thinking I hit the jackpot, but it was nothing close to what Debbie’s mom would make. Sadly, I went for years without satisying my kimchi craving.
Well, decades later, I live in San Jose, California and you can find almost any kind of kimchi, as well as all the veggies and ingredients needed to prepare this cruchy and spicy pickled cabbage. I’ve been preparing it myself over the years, but I recently discovered an additional step by watching a video demonstration for preparing kimchi by this awesome cook and food blogger named Maangchi. If you love Korean food – especially if you love to make it – you will love her site and her videos on YouTube!
In any case, I followed her her Kimchi recipe for the most part, especially the part about preparing a “porridge” for it, and I loved that addition. If you follow Maangchi’s recipe, you can create it just like she does, or you can leave out the fish sauce, oysters and squid and just stick with the veggies like I do. If you’re going to prepare this for the first time, I recommend you watch Maangchi’s video, even though the steps are so easy. It’s just helpful to see the way the veggies are cut and the proportions.
I hope you try this – it is so delicious and so healthful!
Ingredients
2 heads Napa Cabbage, cut in bite-size pieces (see instructions below)
1 Korean radish
1 medium white onion
5-6 green onions
about 4 carrots
1 leek
1-2 cups coarsly ground red pepper flakes (found at most Asian stores)
fresh ginger, enough for about 2 tablespoons of minced ginger
about 1 cup kosher salt
sesame seeds, optional
Paste/Porridge
1/2 cup sweet rice flour (found in most Asian markets) You can use all-purpose if you can’t find it.
3 cups water
1/4 cup sugar
Preparation
1. Trim the discolored outer leaves of 2 heads of napa cabbage.
2. Cut the cabbage lengthwise into quarters and remove the cores. Chop into bite size pieces.
3. Soak the pieces of cabbage in cold water and put the soaked cabbage into a large basin. Sprinkle with salt by layers so all pieces are salted.
4. Every 30 minutes, turn the cabbage over to salt evenly (total salting time will be 1½ hours).
5. 1½ – 2 hours later, rinse the cabbage in cold water 3 times to clean it thoroughly.
6. Drain the cabbage and set aside.
Make porridge:
1.Put 3 cups of water and ½ cup sweet rice flour (chapssal garu) in a pot and mix it well and bring to a boil. Keep stirring until the porridge makes bubbles (about 5 minutes).
2. Add sugar. Stir and cook for a few more mintues until it’s translucent.
3. Let it cool
Make kimchi paste:
1.Place the cold porridge into a large bowl. Now you will add all the ingredients one by one.
2. In food processor, mince the following together: crushed garlic, ginger, onion and add to paste.
Note: Again, I’d check out Maangchi’s photos to see how it’s supposed to look. I didn’t take photos throughout the process like she did!
3. Add red pepper flakes ( quantity depends on your taste) but make sure you add enough so that the appearance is very red.
4. Add diagonally-sliced green onions, chopped leeks, julienned Korean radish, and julienned carrots and sesame seeds (if you want them).
5. Mix all until well-blended.
6. Now it’s time to add the chopped cabbage. Put gloves on and mix will with you hands. If you don’t put gloves on, your hands will burn (trust me, I’ve done it without). : )
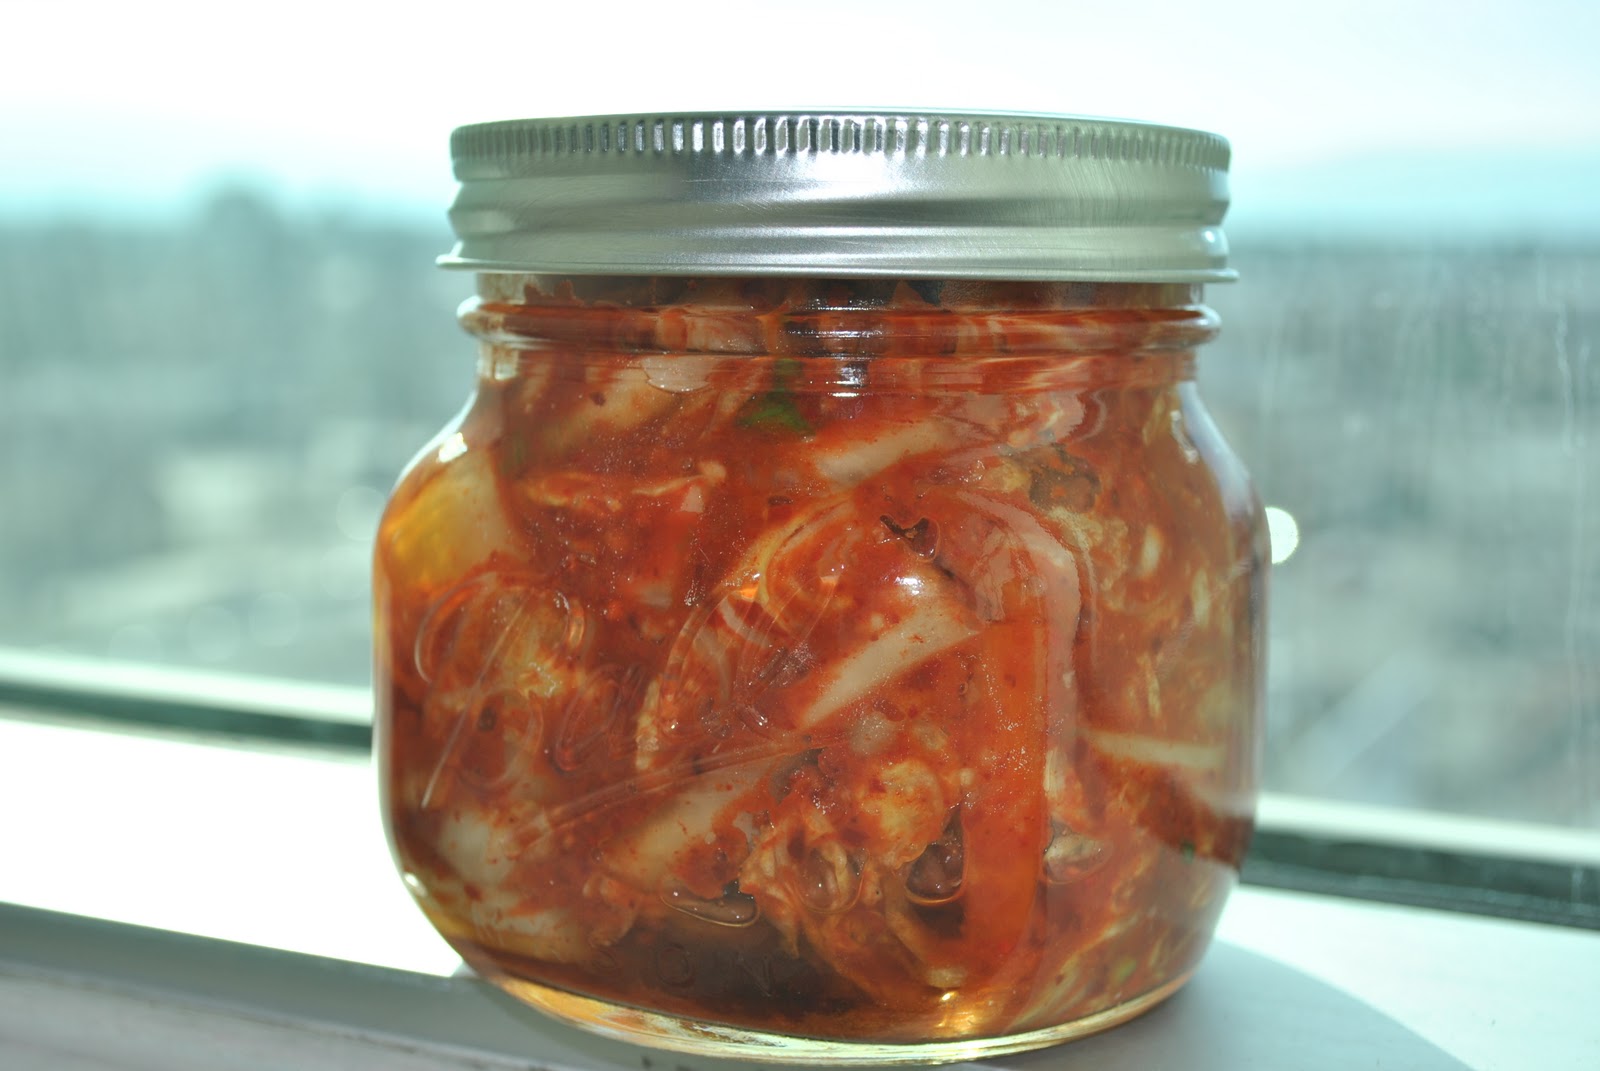
7. Now, add to air tight containers. You can leave out for a few days to ferment slightly if you like, prior to adding to refrigerator, or you can just add to fridge immediately. It just depends on your taste. If you like it on the sour side, let it sit out a couple days.
Serving suggestion: Enjoy with white rice, or you can serve as a side dish, instead of a traditional salad. Or you can give it to your kids as a great after school snack! They just might remember it their whole lives! ; )
What a fantastic video! Thanks for posting that link. I love kimchi and can't wait to try this.